
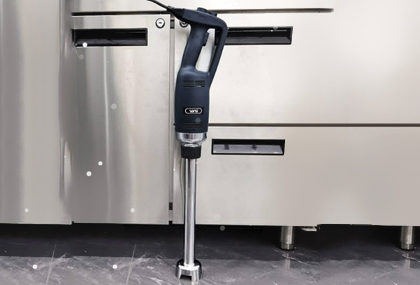


Installation Method and Process of the Blender
May 26,2025
620
A blender is a kitchen appliance that uses high - speed rotating blades to ultra - finely crush food, break the cell walls of food, and thus fully release the nutritional components of the ingredients. It has diverse functions. For example, it can be used to make vegetable and fruit juices. By putting various vegetables and fruits into the blender, it can quickly crush and stir them into a delicate drink, retaining nutrients such as dietary fiber. It can also be used to make soy milk. There is no need to soak the beans in advance. Just put the beans and water in, and you can get fragrant soy milk. It can also make rice paste, grinding grains like rice into a delicate rice paste with a smooth taste. In daily life, the blender provides convenience for people to make nutritious food.
The following is the general installation method and process of the blender. There may be some differences in details for blenders of different brands and models. It is recommended to carefully read the product manual before operation:
I. Preparation Work
1. Check the Accessories
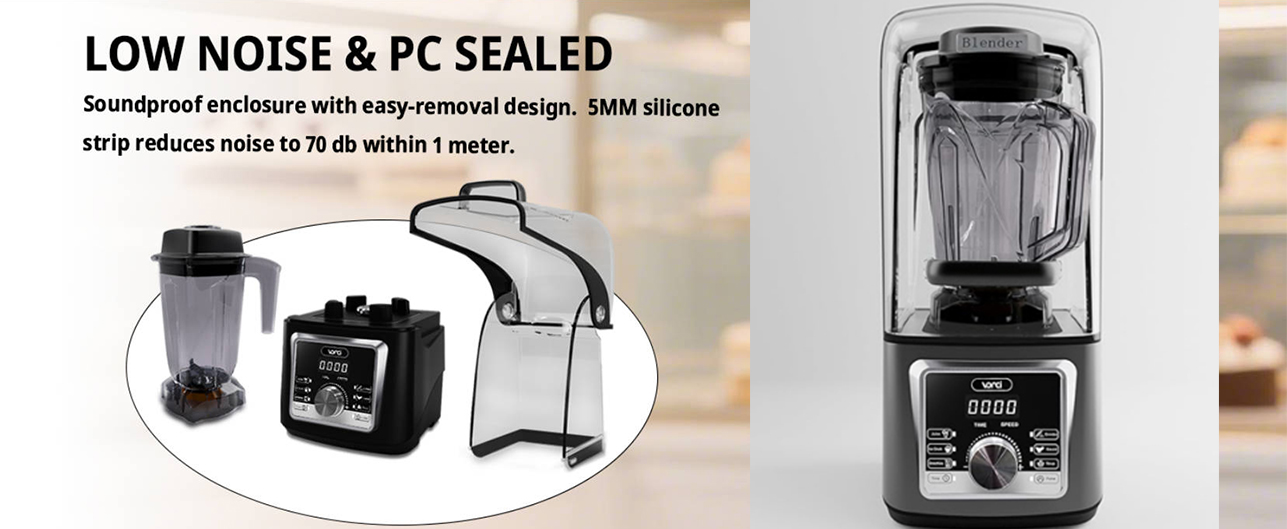
Usually, the main accessories of a blender include: the main machine base, the mixing cup (glass cup / plastic cup / heating cup), the blade assembly, the cup lid, the measuring cup, the cleaning brush, etc. Make sure that all accessories are complete and undamaged (for example, the cup body has no cracks and the blade has no deformation).
2. Clean the Accessories
Clean the parts that can come into contact with food, such as the mixing cup, the blade, and the cup lid, with a neutral detergent. Rinse them thoroughly with clean water and dry them to ensure that there is no stain residue.
3. Select the Installation Location
Ensure that the installation location is stable and dry, away from high - temperature sources (such as the stove) and water sources, and has good ventilation for heat dissipation.
II. Installation Steps
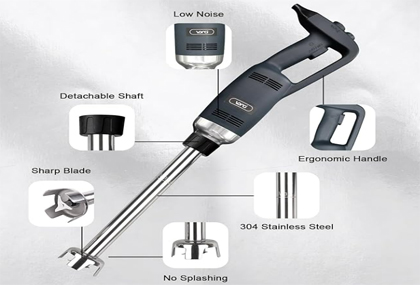
1. Install the Blade Assembly
- Integrated Blade: The blade of some blenders is already fixed at the bottom of the mixing cup and does not require additional installation (such as the common glass cup models).
- Detachable Blade: Align the blade with the slot at the bottom of the mixing cup, rotate it clockwise and press until you hear a "click" sound or confirm that the blade is completely fixed. Check whether the blade is firmly installed to avoid it falling off during use. (Note: The blade is sharp, so be careful during operation.)
2. Install the Mixing Cup to the Main Machine Base
- Base Positioning: The main machine base usually has a raised "positioning post" or "slot" corresponding to the groove at the bottom of the mixing cup.
- Alignment and Installation: Place the mixing cup vertically on the main machine base, slowly press down and rotate it clockwise until the mixing cup is completely engaged with the base (for some models, you need to hear a "click" sound or see the indicator light turn on).
- Note the Direction: The mixing cup of some blenders has a specific installation direction (for example, the handle of the cup body needs to be aligned with a certain side of the base), and you need to operate according to the instructions in the manual.
3. Install the Cup Lid
Align the cup lid with the mouth of the mixing cup, rotate it clockwise and press until the buckle on the edge of the cup lid is completely buckled with the cup mouth. Some models of cup lids have a "safety lock" design. You need to rotate it until the lock mark is aligned (such as the word "LOCK"), otherwise the machine may not start.
4. Install Other Accessories (if necessary)
- Anti - spill Lid: Some mixing cups are equipped with a small - diameter anti - spill lid that can prevent food from splashing during stirring. Just insert it into the cup lid directly.
- Feeding Lid: It is used to add ingredients in the middle of the process. Install it at the corresponding opening of the cup lid to ensure good sealing.
III. Pre - power - on Check
1. Check the Installation Firmness
Gently shake the mixing cup to confirm that it is tightly connected to the base without looseness or shaking. Confirm that the cup lid is locked and the blade is not loose.
2. Check the Power Adaptation
Confirm that the power supply voltage is the same as the voltage marked on the blender (usually 220V). Use the original power cord and avoid using an extension cord or a power strip.
3. Run an Idle Test
Some models support an idle test: Without adding any ingredients, select the "pulse" or low - speed gear, start the machine for 1 - 2 seconds, and observe whether the blade rotates smoothly without abnormal noise.
IV. Precautions
1. Safe Operation
Avoid touching the blade during the installation process. Ensure that your hands are dry to prevent electric shock or cuts. Children should use it under the supervision of adults to avoid accidental touches.
2. Model Differences
The mixing cups of heating - type blenders may be divided into "cold cups" and "hot cups". You need to select the corresponding cup body according to the usage (the cold cup cannot be used for the heating function). Some blenders support a "split - type design" (such as the cup body can be separated for cleaning). Pay special attention to the tightness during installation.
3. Cleaning and Maintenance
Clean the blade and the cup body in time after each use to prevent food residues from solidifying (you can use a cleaning brush or turn on the "auto - cleaning" function). When not in use for a long time, it is recommended to separate the mixing cup from the base, dry them and store them to prevent dampness and mildew.
V. Handling of Common Problems
1. The Mixing Cup Cannot Be Engaged with the Base: Check whether the positioning post is aligned or try to rotate it counter - clockwise and reinstall it.
2. The Cup Lid Lock Fails: Confirm whether the rotation direction is correct or check whether the buckle is blocked by foreign objects.
3. No Response after Power - on: Check whether the power cord is plugged in tightly, whether the cup lid is locked, or try to restart the machine.
If the above steps still cannot solve the problem, it is recommended to contact the brand's after - sales customer service or watch the official installation video to ensure standard operation. Correct installation of the blender can ensure safe use and the mixing effect. It is recommended to get familiar with the functions of each part and the operation process before the first use.
